
Article: How to Measure for Accessories: Rings, Gloves, Hats, Belts and Sunglasses

How to Measure for Accessories: Rings, Gloves, Hats, Belts and Sunglasses
THE KIMLUD EDIT · SIZE & FIT

A beautiful accessory should feel as considered on the body as it looks in a photograph. A ring needs to pass the knuckle comfortably, a hat should sit where you intend to wear it, and a belt should fasten at a useful point in its adjustment range. These are small details, but they determine whether an accessory becomes an everyday favorite or stays in its box.
Shopping online makes measurements especially useful. The photograph introduces the design; the dimensions help you decide whether it belongs in your wardrobe. This guide explains how to gather those dimensions for rings, gloves, sunglasses, hats and belts, then compare like with like. It is a measuring companion, not a universal size chart. Always use the specifications and sizing instructions for the particular product and variant you are considering.
Looking for the chart? Open the KIMLUD Accessories Size Chart → Use it as a general reference alongside the size information for your selected product.
Look Closely Before Choosing a Size

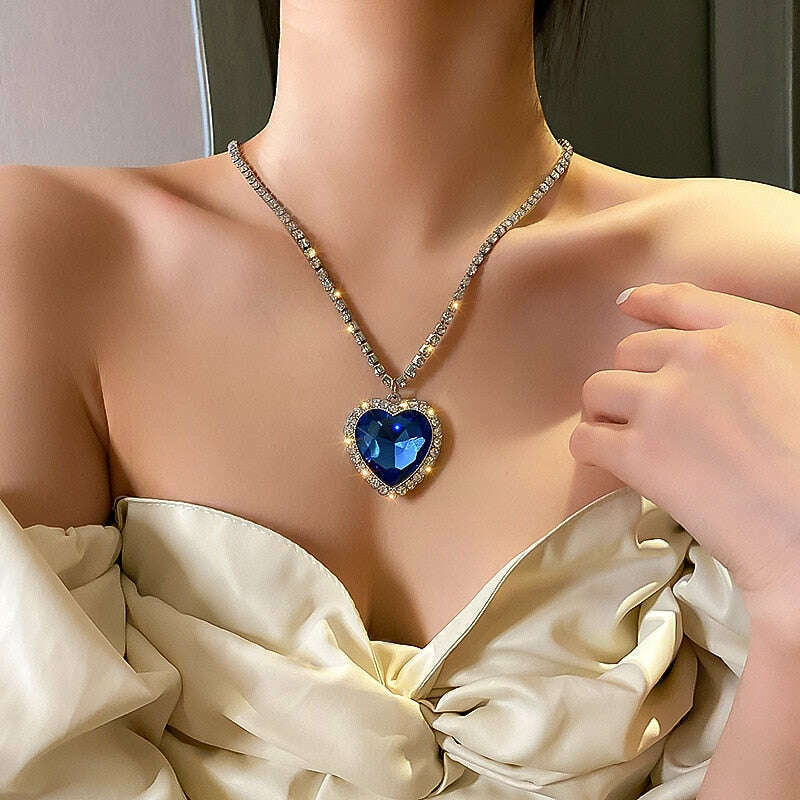
When a selection includes a ring, check the available size options separately from the styling of the set. The selected variant and its listed dimensions matter more than how large the piece appears in a photograph.
1. Prepare Before You Measure
Start with a flexible measuring tape, a straight ruler, a pencil and somewhere to record your results. For measurements around a body part, a non-stretch strip of paper can help when a tape is unavailable. Mark the overlap, lay the strip flat, and use the ruler to measure the marked length. Avoid elastic cord: stretching changes the measurement and makes the result difficult to repeat.
Record the measurement name alongside the number and unit. Write “head circumference: 58 cm,” for example, rather than leaving yourself an unexplained “58.” For a ring, note whether you measured inside diameter or finger circumference. For a belt, record the measuring endpoints. A clear label prevents mistakes when you return to the product page later or compare several items with different chart formats.
Repeat each measurement instead of relying on one attempt. If the results differ noticeably, check that the tape has not slipped, tilted, twisted or tightened. Measure in a comfortable position, without pulling the tape into the skin. Consistency is more useful than recording a long string of decimal places. Keep the original result rather than repeatedly rounding and converting it as you browse.
2. Understand What the Product Chart Describes
A product chart may describe the person, the finished accessory, or a recommended fitting range. Those are not interchangeable. A glove's external dimensions are not necessarily the hand measurements it fits. A belt's total strap length is not necessarily the circumference at which it fastens. Look for the diagram and column headings before matching a number. If the chart does not define its measurements, clarification is more useful than an assumption.
Letter sizes are labels, not universal measurements. An M on one design does not establish the correct size in another, even within the same broad category. The same caution applies to international size labels: compare them using the selected item's chart rather than treating a conversion found elsewhere as definitive. Start with your physical measurement, then find how that product translates it into an available option.
Make sure the chart applies to the variant you intend to order. A listing may offer different styles, dimensions or fastening designs. Review the selected option before relying on the illustration. If the image shows several accessories, confirm which item or combination the variant includes. A styled photograph can help you understand the look, but it does not replace a clear description of what is being sold.
3. Rings: Separate Diameter from Circumference
Begin with the intended finger and hand. A ring that fits another finger is not automatically a useful reference, and a ring chosen as a gift requires more information than a guess based on someone's appearance. Two measurements commonly encountered in ring charts are inside diameter and circumference. They describe different things, so first establish which one the product chart uses.
Measure a ring that already fits
Choose a ring that fits the same finger comfortably. Lay it flat and measure straight across the widest part of its inside opening, from inner edge to inner edge. Do not include the thickness of the band. Record the inside diameter in millimeters. If the ring is distorted or has an unusual internal shape, it may not provide a straightforward reference for a conventional round band.
Measure around the finger
Wrap a narrow strip of non-stretch paper around the base of the finger. Mark the point where the ends overlap, then measure the marked length with a ruler. That length is the circumference. Keep the loop snug without digging into the skin, and check that it can pass over the knuckle. Repeat the measurement rather than trusting a loose loop or one pulled tightly around the finger.
Compare diameter with diameter or circumference with circumference. Do not place a circumference measurement into a diameter column. For a wide band, a prominent knuckle or an uncertain home measurement, ask for help before ordering. An adjustable ring also needs its stated fitting range checked; “adjustable” does not mean every finger size is suitable. Follow any adjustment instructions rather than repeatedly bending the design.
A printed chart introduces another possible error: scale. If you use one, follow its printing instructions and verify its calibration marker before comparing a ring against the circles. A chart enlarged to fit a page, reduced by printer settings, or viewed at an arbitrary screen zoom can give a misleading result. When scale cannot be established, use a physical measurement or seek sizing assistance instead.
Explore KIMLUD rings and check the selected design's size options →
4. Gloves: Measure the Hand, Not Just the Label
Glove listings can refer to hand circumference, palm width, hand length or finished glove dimensions. Read the wording carefully because the same number means something very different in each context. A circumference travels around the hand; a width travels across it. Substituting one for the other can lead to a substantial sizing mistake even if the unit is correct.
For hand circumference, wrap the tape around the widest part of the palm across the knuckles, excluding the thumb, unless the product diagram specifies another method. Keep the hand relaxed and the tape snug rather than tight. Measure both hands and keep the results labeled. If they differ, compare both with the chart and ask which measurement should guide the selected design.
For palm width, measure straight across the palm at the position indicated in the product diagram. For hand length, the usual reference is from the tip of the middle finger to the wrist crease, but follow any different endpoints given for the item. Do not assume that the length of a finished glove includes exactly the same area as a hand-length measurement.
Consider how the gloves are constructed and intended to be worn. Lining, stretch, cuff length and the intended use can affect what a comfortable fit means. Do not assume a material stretches or that a snug glove will loosen simply because it looks soft in the photograph. Use the stated product information, and avoid converting a general hand measurement into an XS–3XL label without that item's chart.
Browse gloves and compare the product's hand measurements →
5. Sunglasses: Compare the Frame as a Whole
A comfortable pair you already own can be a helpful reference for sunglasses. Look inside the temple arm for printed dimensions or consult its specifications. A sequence such as 52–19–140 commonly refers to a 52 mm lens width, a 19 mm bridge width and a 140 mm temple length. Confirm the sequence against the product diagram rather than assuming every printed number is a fitting measurement.
Lens width describes one lens, not the full frame. Bridge width describes the space between lenses according to the frame's measuring method. Temple length describes the arm. Where available, compare the overall frame width and lens height as well. Two frames with the same lens width can differ in their overall shape, rim thickness, bridge design and how they sit on the face.
Do not decide that a frame suits a narrow or wide face from lens width alone. A familiar frame shape is useful context, but dimensions and construction still matter. Likewise, an oversized style is an aesthetic description rather than a promise that the fit will be comfortable. Compare the bridge and overall width, then review the intended silhouette instead of treating small, medium and large labels as a universal system.
If your reference pair presses, slips or sits unevenly, copying its dimensions may reproduce a problem rather than solve one. Use it to identify what you would change and ask about the relevant dimensions. This guide concerns physical sizing; it does not establish lens performance, protective properties or prescription suitability. Those require the selected product's own specifications and, where appropriate, professional advice.
Explore sunglasses and compare frame dimensions →
6. Hats: Measure Where the Hat Will Sit
Place a flexible tape around your head at the intended wearing position, above the eyebrows and ears and around the fuller part at the back. Keep the tape level and comfortably snug. A tilted tape takes a different route and can change the result. If using paper instead, check that the strip stays in position while you mark the overlap rather than sliding upward or tightening.
Think about how you will actually wear the hat. Hairstyle, placement and the design of the band can affect the space needed. Record your head circumference and compare it with the selected product's stated range. If an adjustment mechanism is listed, check what range it supports; do not assume that an adjustable strap makes the smallest and largest possible measurements equally comfortable.
Use the item's own chart for numbered or lettered sizes. United States and United Kingdom hat-size labels should not be combined into one interchangeable column. An S, M or L also needs a measurement range attached to it before it becomes useful. If the listing gives only a size label without dimensions, ask for the missing circumference information rather than relying on a generic conversion.
Browse fedora hats and check their circumference guidance →
7. Belts: Identify the Fastening Measurement
A belt needs to fit where you intend to wear it, which may be at the natural waist or lower on the hips. Measure around that position over the clothing you expect to wear underneath. A trouser-size label is not a substitute for this measurement: garment sizing, rise and the belt's position can differ. Start with the circumference at the actual wearing point.
If using an existing belt as a reference, check the new product's diagram and use the same endpoints. For many conventional buckle belts, the useful measurement runs from the buckle fold or attachment point to the hole you use. Other designs may define their sizing differently. Write down the endpoints so that a number taken from an old belt is not mistaken for a total strap length.
Review the adjustment range as well as the named length. Total strap length, buckle-to-middle-hole length and a supported waist range are different descriptions. A belt may have enough material overall but still lack a suitable fastening position. Designs with sliding, elastic, tied or other closures need their own instructions. Do not impose a standard hole-based measuring method on a design that does not use holes.
Avoid automatically adding a fixed amount to a trouser size. That shortcut can mix units, sizing labels and measuring endpoints. Instead, compare the actual wearing measurement with the product's specified fit range. If the diagram and description disagree about what “length” means, stop and ask. A clear question before ordering is more useful than choosing an option that only appears close.
Explore belts → or browse men's belts →, then check the selected item's measuring method and adjustment range.
8. Keep Units Consistent
A measurement is only useful when its unit is clear. Rings and eyewear often use millimeters; hats, gloves and belts may use centimeters or inches. Always check the column heading. One centimeter equals ten millimeters, and one inch equals 2.54 centimeters or 25.4 millimeters. A unit conversion changes how a physical length is expressed; it does not establish a corresponding product size label.
| To convert | Calculation |
|---|---|
| Centimeters to inches | Divide by 2.54 |
| Millimeters to inches | Divide by 25.4 |
| Inches to centimeters | Multiply by 2.54 |
| Inches to millimeters | Multiply by 25.4 |
Keep your original measurement and avoid rounding it repeatedly while comparing charts. If a chart presents a range, compare your measurement with the range rather than replacing it with the nearest convenient whole number. Close results deserve careful checking, especially for a rigid accessory with little adjustment. Numerical precision is not a substitute for confirming that you measured the correct feature.
9. Make a Like-for-Like Comparison Before Ordering
Return to the selected product and review the measurement names, units and variant together. Confirm that your ring measurement is for the intended finger, your hat measurement follows the intended wearing position, and your belt measurement uses the stated endpoints. These simple checks catch mistakes that a quick comparison of size labels will not. Keep the relevant measurements nearby while selecting the option.
Separate fit from style. A hat can have the right circumference but a different crown shape from your favorite. Sunglasses can share dimensions but look more dramatic because of their silhouette. A ring may fit while its setting feels more prominent than expected. Review dimensions and photographs together: measurements support the fit decision, while the images help you assess proportion and visual character.
If information is missing, ask a specific question through the KIMLUD customer-service form. Include the product link, variant, measurement with units and the method you used. Explain which chart heading or endpoint needs clarification. This provides a useful starting point for assistance without suggesting that a general sizing article can guarantee the fit of an individual accessory.
10. Frequently Asked Questions
Should I always size up if I am between sizes?
No. The appropriate choice depends on the accessory, its adjustment range and the product's fit instructions. A loose ring and an uncomfortable glove present different problems. Check the selected item's guidance or ask for help rather than applying one rule to every category.
Can I use my clothing size to choose accessories?
Not reliably on its own. Rings, hats, gloves, sunglasses and belts involve different body or product measurements. Use the specific measurement requested by the item instead of assuming a familiar clothing label identifies the right accessory size.
Does an adjustable accessory fit everyone?
No. Adjustment has a range and may depend on the construction. Check the stated range and any instructions. If the listing does not provide it, ask before assuming that the smallest or largest adjustment will meet your needs.
Can a photograph establish the size?
A photograph helps show design and proportion, but perspective, cropping and styling affect apparent scale. Use stated dimensions and the relevant chart. Do not infer an item's exact size or included contents from how it appears beside other objects.
What is the most important detail to include when asking for help?
Send the exact product and variant together with your measurement, unit and method. A number without a label is ambiguous. Explain whether you measured your body, an existing accessory or the finished item's dimensions.
What if the international conversion conflicts with my measurement?
Do not silently choose one and hope they match. Confirm that both refer to the same sizing system and selected variant. Ask for clarification about the physical dimensions that correspond to the available option before ordering.
11. Choose with Confidence, Not Guesswork
The goal of measuring is not to turn shopping into a technical exercise. It is to replace uncertainty with a few useful facts. A clearly labeled circumference, inside diameter or fastening length makes a better starting point than a size letter remembered from another purchase. Measure carefully, compare the same feature in the same unit, and use the selected item's own chart.
Explore KIMLUD's jewelry and accessories with those measurements in mind. Keep design preferences and practical fit together, and pause when important information is unclear. The most considered choice is not the one made fastest; it is the one supported by the details you need to feel comfortable wearing it.
Open the Accessories Size Chart →
Sources & References
KIMLUD Women's Jewelry & Accessories and the featured jewelry-set product listing provide the shopping references in this article. Consult each selected product's own dimensions, variant options and measurement instructions for its sizing information. For questions about missing or conflicting details, use the customer-service form.


